Wi-Fi is an essential part of any home in this era of technology. You cannot think even a second without the internet in your life. Using Wi-Fi at home is a great choice of using the internet.
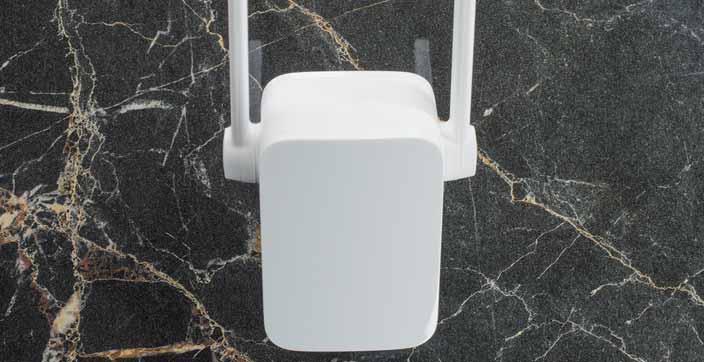
To boost the capacity of your Wi-Fi, you need to think about a Wi-Fi amplifier. Most importantly, you can make your own amplifier at your home by yourself.
Steps to Make a Wi-Fi Amplifier
You need to follow some specific steps to make your Wi-Fi amplifier at your own home. Be sure you properly follow the steps to get the job done.
Step-1. Understand How this Works
Basically, putting a sheet of aluminum in the back of your router can help focus your Wi-Fi toward your preferred source with increased power. The process increases the range.
This is a helpful way that allows you to stay connected to the Internet on items like laptops or desktop computers that are away from your Wi-Fi range.
Step-2. Gather the Necessary Tools
If you really want to make a Wi-Fi amplifier, you should arrange the following items.
- An empty, clean 500ml beer, soda, or aluminum can
- A Stanley knife
- A pair of sharp scissors
- A small piece of poster tack
Step-3. Clean the Can with Water
You need to wash out the can properly. Ensure your can is totally out of dust and other harmful elements that can affect the entire system.
Step-4. Remove The Tab From The Top Of The Can
This is simply an easier way to do this. You need to rotate it at a 180-degree angle. Finally, pry it up until it snaps off.
Step-5. Cut The Bottom Off Of The Can
You can fully remove the bottom of the can by using the Stanley knife. The process is very simple and easy.
Step-6. Create the Base of the Wi-Fi Amplifier
it would help if you cut almost all the way around what is used to be the top of the can, making sure to leave around half an inch of the can attaching the top to the rest of the can. At this point, you can flip over the can; the former top goes to serve as the can’s base.
Step-7. Make a Vertical Cut All the Way Down The Can
You need to sing your Stanley knife and cut down the side opposite of the section of the can that’s attaching the base to the rest of the can.
Step-8. Peel Out The Sides Of The Can
The surroundings of the can aren’t attached; you need to pry them apart to form a radar dish-shap
Step-9. Place Adhesive on the Bottom of the Wi-Fi Booster’s Based Item
Put some poster tack on what has been used to be the top of the can. That can help to hold the can in place.
Step-10. Place The Amplifier Behind The Router
Now, it is time to place the amplifier behind the router. The amplifier’s “dish” needs to be facing in the direction toward which you want to boost the signal.
Step-11. Get Your Amplified Wi-Fi
Finally, you can enjoy the boosted network of your Wi-Fi and get things faster.
Conclusion:
To make your technical life enjoyable, boosting your Wi-Fi network is essential without any doubt. Please visit this link to learn more- https://apnews.com/3c49105127c67ffc98dc4cbdf6998a0d